clashX for Mac setting tutorial
Download clashX for Mac (International)
Download clashX for Mac (China)
1. Download the program via the link and save it to your desktop.

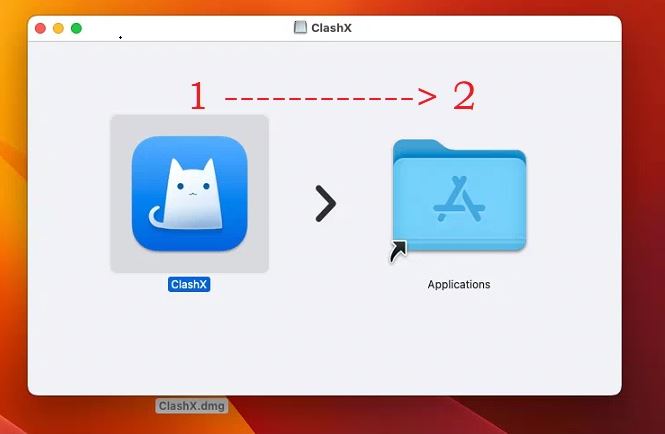
2. Select the downloaded programs on the left and right, wait for the dialog box as shown in the figure to appear, and drag the blue kitten-shaped icon on the left to the [Applications] on the right, and the program will be automatically installed.
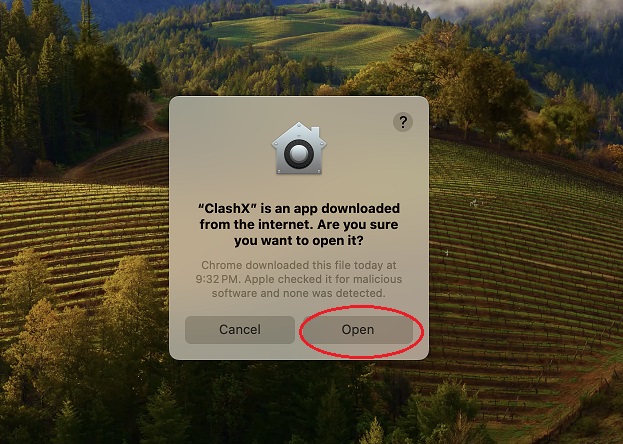
3. From the taskbar [Go] -> [Applications], find the blue kitten icon of clashX in [Applications] and double-click it. The following dialog box will be displayed. Click [Open].
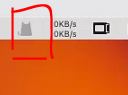
4. If it is running normally, a gray kitten icon will be displayed in the upper right corner.
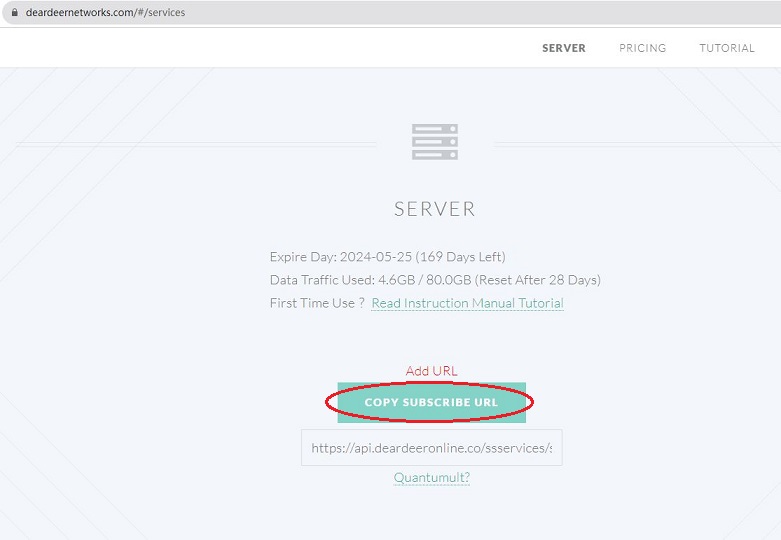
5.Login to the service list of Deer official website:
https://deardeernetworks.com/#/services and click [Press me to copy the subscription URL].
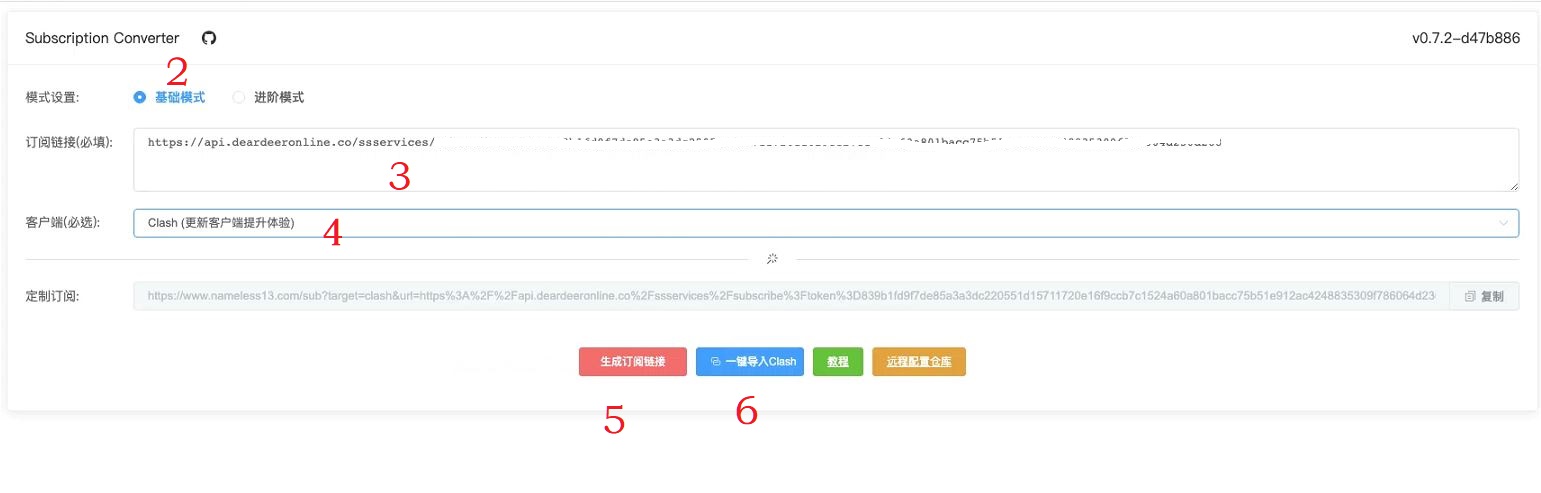
6. (1)Open https://subapi.dingyue.org/ with a browser (Google Chrome is recommended)
(2)Select [Basic Mode].
(3)Paste the subscription link you just copied in the [Subscription Link (required)] box.
(4)Select [clash (update client to improve experience)] in [Client (required)]
(5)Click [Generate Subscription Link].
(6)Click [One-click import clash].
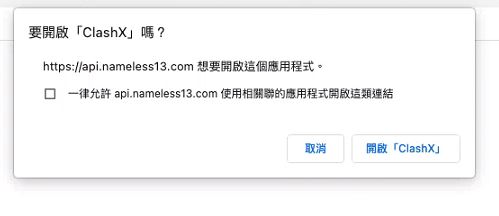
(7)In the next dialog box, please click [Enable clashX]
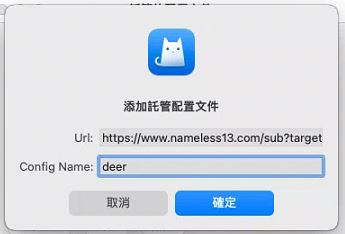
7. In the [Add Hosting Configuration File] dialog box [config name], fill in: deer. Press [OK].
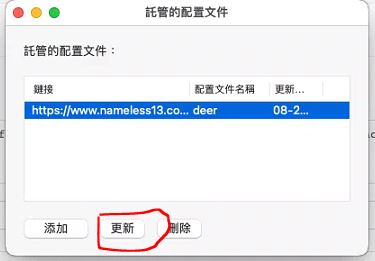
8. Click [Update] in the next [Hosted Profile] dialog box
9. Click on the gray cat icon in the upper right corner and select [Rule Judgment] for outbound mode rules.
10. [Outbound Rules] Select [Agent] below as "the node that the user needs, such as: Taiwan|Media|x0.9|Relay, or others." Please configure the rest as shown below.
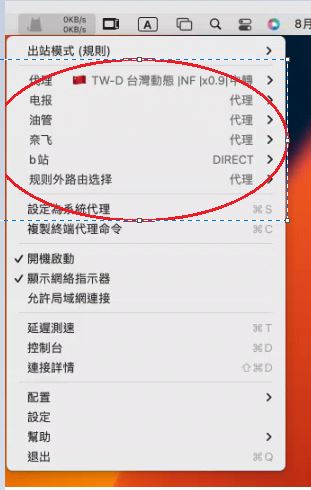
11. Finally, please click [Set as system proxy] to start Deer VPN.
At this time, the gray cat icon will change to a black cat icon, which means it is running normally.
12. Click Like Deer Fan Group to not miss the latest news